카탈로그
고급 사진 자르기 및 편집 도구를 사용하는 경우 사진에서 개체나 사람을 제거하는 것이 복잡하고 어려울 수 있습니다. 그러나 HitPaw FotorPea(이전의 HitPaw Photo Enhancer 및 HitPaw FotorPea)를 사용하면 매우 간단한 단계로 이러한 작업을 수행할 수 있습니다.
아래의 간단한 5단계에 따라 사진에서 개체 제거를 시작하세요.
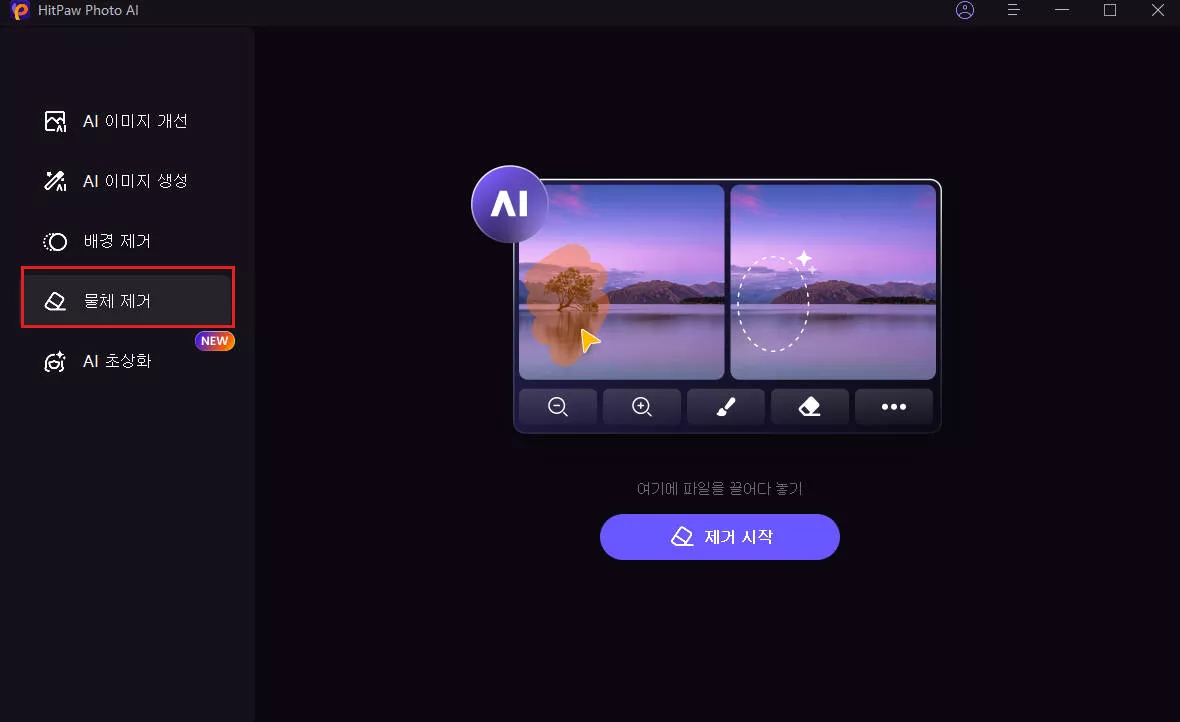
스텝 1: 사진 가져오기
객체 제거를 클릭하여 객체를 제거해야 하는 사진을 추가합니다. 또는 사진을 편집 상자로 끌어다 놓을 수도 있습니다.
스텝 2: 브러시 또는 상자 선택 도구 찾기
프로그램 하단에서 브러시 또는 상자 선택 도구를 찾습니다.
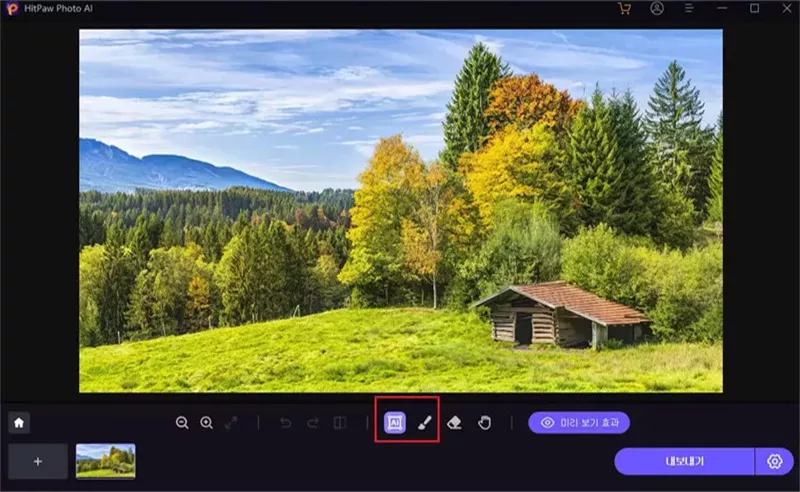
스텝 3: 개체를 칠하거나 프레임 만들기
사진에서 제거해야 하는 개체를 칠하거나 프레임을 만듭니다.
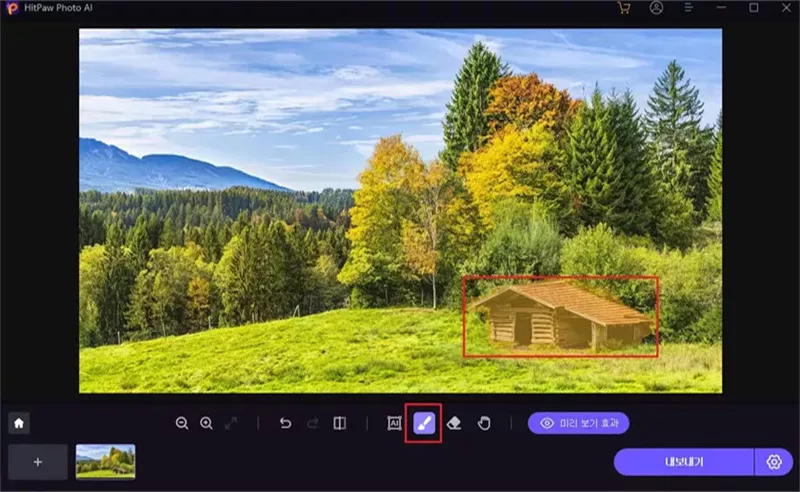
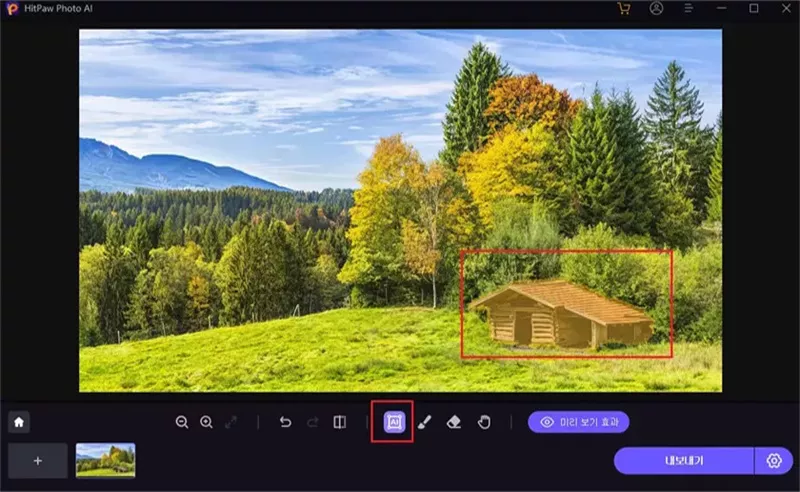
스텝 4: 선택 항목 조정
프레임을 선택하면 선택한 영역이 강조 표시됩니다. 필요에 따라 제거 영역을 조정하거나 선택 영역을 추가 또는 줄일 수 있습니다. 현재 선택 확대/축소가 만족스럽지 않은 경우 '실행 취소' 버튼을 클릭하여 개체를 다시 선택할 수 있습니다.
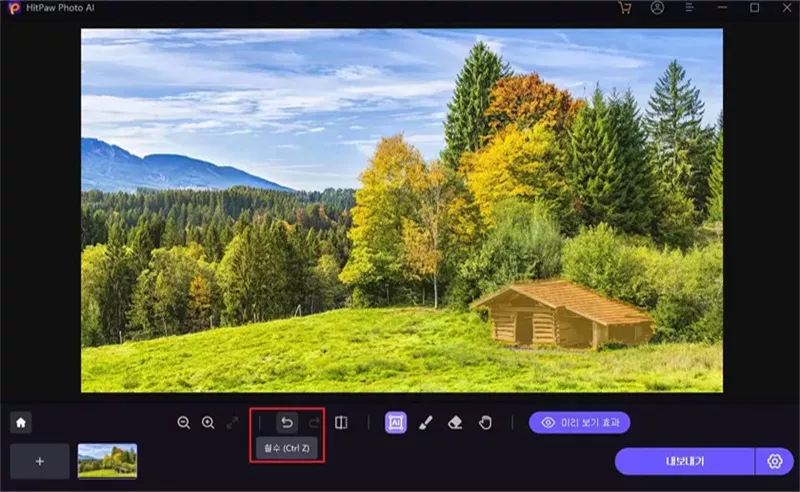
또한 크기 막대를 드래그하여 브러시 크기를 조정할 수 있습니다.
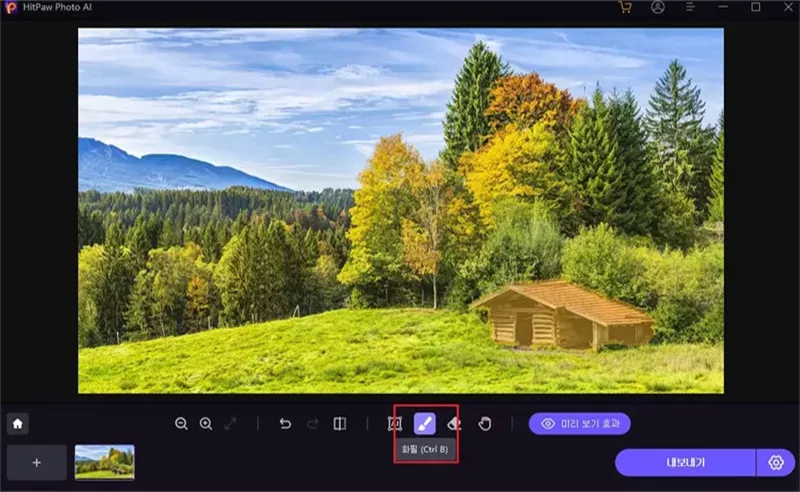
스텝 5: 사진 미리보기 및 내보내기
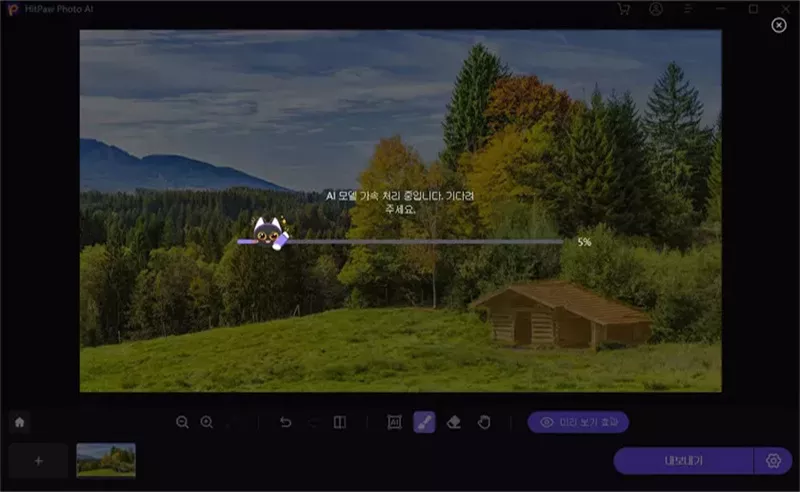
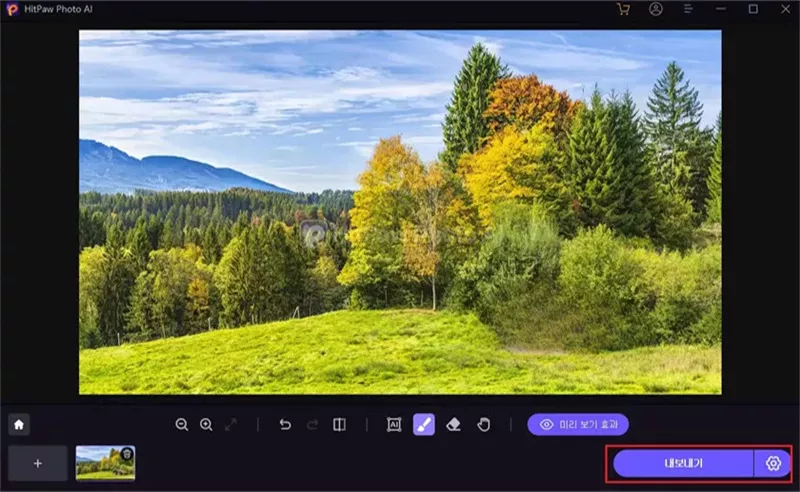
"미리보기"를 클릭하여 사진에서 개체를 제거합니다. 그런 다음 저장할 경로를 찾아 "내보내기"를 클릭하고 최종 사진을 컴퓨터에 저장할 수 있습니다.
